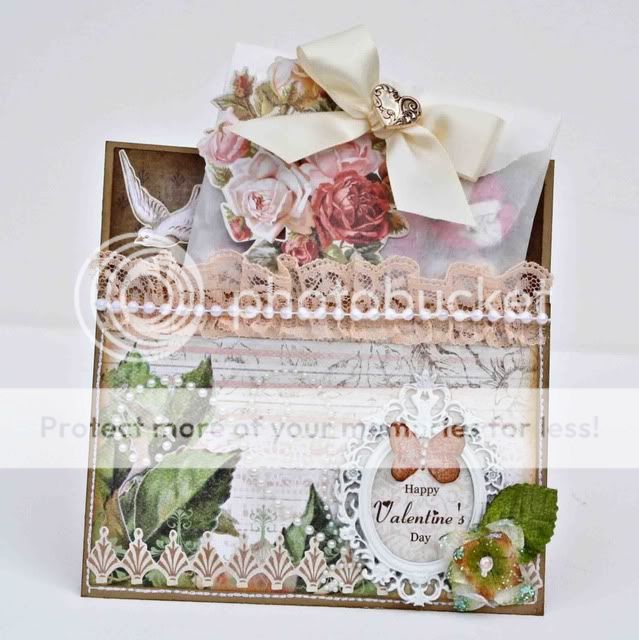
As promised yesterday, I prepared a tutorial for my Valentine's Day card/treat pocket. This was very easy and quick to create and make a great teacher gift. Enjoy!
Before we begin, please excuse the bad lighting, I normally scrap late at night :) I began by scoring a glassine bag an inch from the top, then measuring the rest of my bag. I knew I wanted my bag to stick out a little bit for a more handmade look. The bag I'm using is 7X4.5 and was purchased on Ebay.
I then cut a piece of brown cardstock that measured 6X10 and scored it at 4 inches. That will create a pocket that is 6 inches tall in the back and 4 inches tall in the front to nicely display our bag of treats.
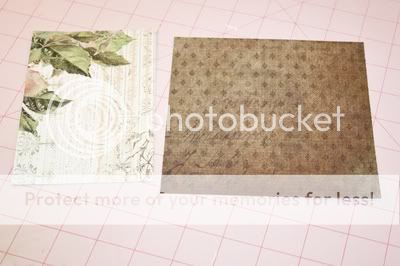
Next, cut two pieces of coordinating pattern papers a quarter of an inch smaller for each panel. That means we'll need a piece of paper that measures 3.75X5.75 for the front and a second piece of pattern paper that measures 5.75X5.75 for the back panel.
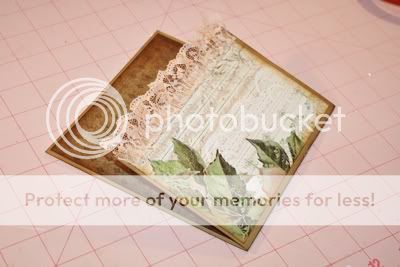
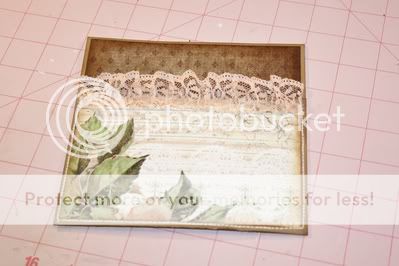
I inked both pieces of paper with Tea Dye Distress Ink before adhering. I also used hot glue to attach some lace to the front border.
Instead of glue, I used my sewing machine to stitch around the bottom and sides of my pocket.
Our pocket is ready! We can now decorate as desired. I used pearls, rub-bons, flowers and Prima metal frame. The sentiment inside the frame was printed onto pattern paper by combining two different font styles from my computer. I also decorated the bag after filling it up with Dove milk chocolates.
I hope you liked this tutorial. I really enjoyed creating this fun pocket, and I hope you give it a try!